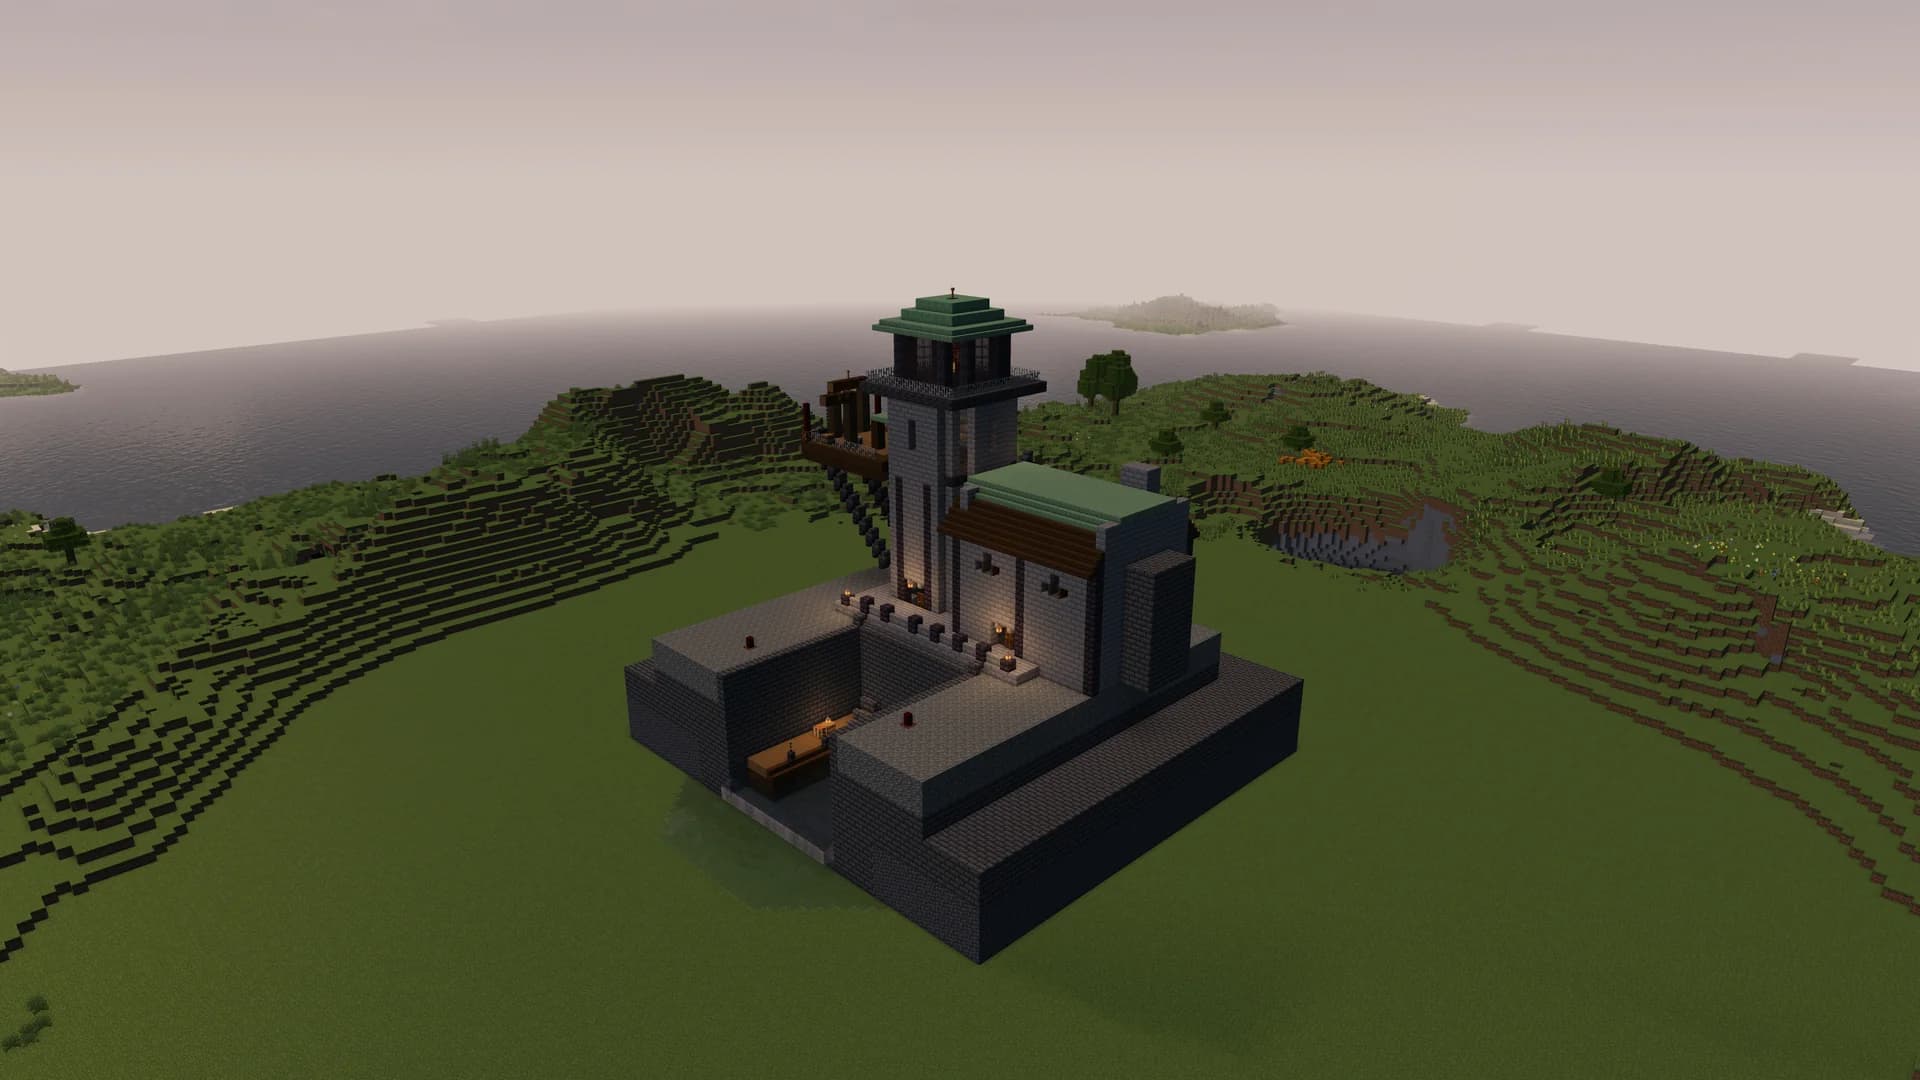
Learn where to put .schem files, how to load and paste them with WorldEdit, and how to fix the position, rotate a build, or undo an import.
A downloaded schematic becomes a real Minecraft building when you import its block data into a world. For Minecraft Java Edition, WorldEdit provides a practical way to do that: put the file in the right folder, load it, and paste it at your chosen location.
This guide follows that workflow from download to finished placement. It covers .schem files and WorldEdit. Litematica's projection-based building workflow is a separate topic.
If WorldEdit is already installed and you have permission to use it:
.schem file in the active installation's WorldEdit schematics folder.For a file named lighthouse.schem, the commands are:
//schem load lighthouse.schem
//paste
Loading alone does not place any blocks. The second command changes the world. If the result is misplaced, run //undo before making another WorldEdit edit.
You need Minecraft Java Edition, a WorldEdit release compatible with your Minecraft version and mod loader or server platform, and a schematic containing blocks that your target game can recognize.
For single-player, install the appropriate WorldEdit mod in your chosen game instance. For a supported multiplayer server, the administrator installs the matching server version of WorldEdit. A client-side installation by itself does not give you editing permissions on someone else's server. Follow the official WorldEdit installation instructions for your platform.
Use a Creative test world with commands enabled for your first attempt. Back up an existing world before importing into it. Creative mode makes inspection easier, but it does not replace server permissions.
The existing IntoBlocks capture environment uses Minecraft Java 26.2, Fabric Loader 0.19.3, and WorldEdit 7.4.4. The showcase images in this article come from our existing in-game capture collection. This is a reference environment, not a requirement to upgrade every world to that version.
| File | What it means for this tutorial |
|---|---|
.schem | A Sponge schematic; this is the file type used below. |
.schematic | An older schematic format. WorldEdit has legacy import support, but inspect the result carefully. |
.litematic | A different format used by Litematica; obtain a compatible .schem export for this workflow. |
.zip | An archive. Extract it and find the actual schematic before loading. |
Changing a filename from .litematic to .schem does not convert its contents. Also check that your operating system has not hidden the extension and left you with a name such as lighthouse.schem.schem.
Use your own build or a file you have permission to use. Check the creator's Minecraft version and any required mods before choosing a world.
To follow along with an IntoBlocks example, download the lighthouse schematic. Rename your downloaded copy to lighthouse.schem to match the commands below. This is a substantial showcase build, so give it plenty of room in a test world.
The image at the top of this article shows that lighthouse in our existing Minecraft showcase scene. Terrain, lighting, and the camera composition are part of the scene; pasting the schematic into a different world will not reproduce that entire landscape.
The correct folder depends on where WorldEdit runs:
| Environment | Default path, relative to that game instance or server |
|---|---|
| Modded Java installation | config/worldedit/schematics/ |
| Bukkit, Spigot, or Paper server | plugins/WorldEdit/schematics/ |
If you use the default Minecraft game directory with the WorldEdit mod installed, the full path is:
%APPDATA%\.minecraft\config\worldedit\schematics\lighthouse.schem in this folder.%APPDATA% automatically points to your Windows user's application data directory. For a user named Alex, the path typically expands to:
C:\Users\Alex\AppData\Roaming\.minecraft\config\worldedit\schematics\If Windows cannot find the folder, first confirm that WorldEdit is installed in the game instance you use, and check whether your launcher uses a separate game directory or version isolation. In that case, open the current instance's game folder from your launcher, then navigate to config\worldedit\schematics\ instead of using the default .minecraft path. If the worldedit folder exists but has no schematics folder, create schematics inside it.
For a standard Minecraft installation on macOS, the mod folder path is:
~/Library/Application Support/minecraft/config/worldedit/schematics/In Finder, use Go → Go to Folder, paste that path, and place lighthouse.schem there. If the schematics folder does not exist yet, create it inside worldedit.
On Linux, the default game directory is usually ~/.minecraft, so the full path is ~/.minecraft/config/worldedit/schematics/. On any operating system, a launcher profile with a custom game directory uses that directory instead. Check the active profile rather than assuming the default location.
Your final modded-instance layout should look like this:
minecraft/
└── config/
    └── worldedit/
        └── schematics/
            └── lighthouse.schem
For multiplayer, the file must reach the server's schematic folder. Keeping it in your laptop's folder is not enough. Ask the administrator to place it there if you do not manage the server files. Administrators can customize WorldEdit's storage location; the paths above are defaults.
Enter your test world and open chat. Run:
//schem load lighthouse.schemWait for WorldEdit's success message. At this stage, the building is in your WorldEdit clipboard, ready to place. Nothing appearing in the world yet is normal.
To check which files WorldEdit can see, use:
//schem listIf your file is absent, check the directory and active instance first. If it appears but fails to load, read the error: an unsupported file format and an unsupported block version are different problems.
Keep the same filename throughout the process. If you use a different schematic, replace lighthouse.schem in each example with its actual name.
A schematic has an origin and may include an offset. Your standing position anchors the paste, but it is not necessarily the building's front door, center, or lowest corner. This is why the first attempt belongs in a test world.
Choose an open area with room above, below, and around you. For a build with a base or underground section, allow space beneath the visible structure as well.
You can set the target selection without changing blocks:
//paste -nThis does not display a full building preview. A visible selection outline depends on a compatible selection visualization setup. If you cannot see an outline, do not assume the command failed or that there is nothing to paste.
When ready, run:
//pasteLet the operation finish before sending more commands. Move away from the anchor point and inspect the building from outside. Check the base, entrances, roof, and any basement or overhang.
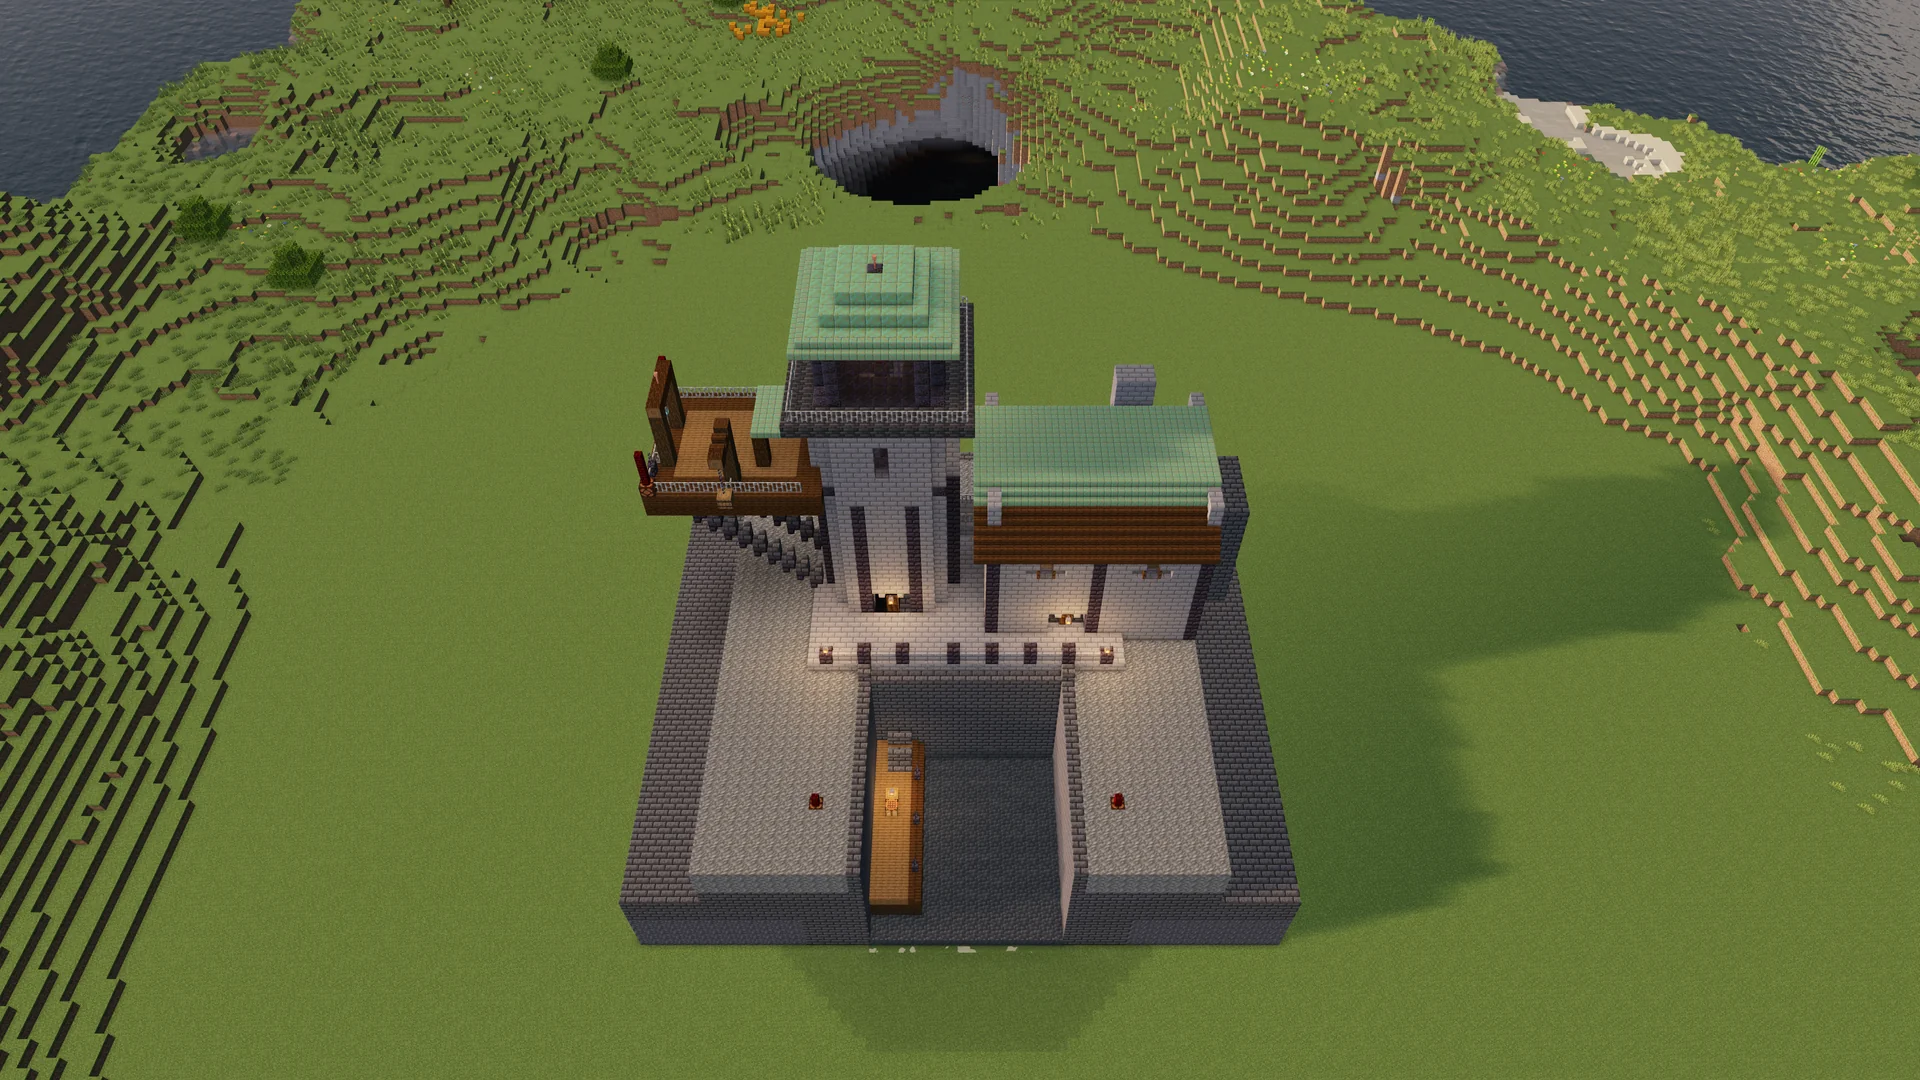
Existing in-game showcase capture: inspect the whole footprint, not just the facade. The surrounding scene is not a placement preview.
//paste includes the schematic's air blocks. Those air blocks can clear existing blocks inside the pasted volume, including rooms and other intentionally empty spaces.
//paste -aThe -a option skips air from the schematic. It can help when combining a build with existing terrain, but it does not protect existing blocks from being replaced by the schematic's non-air blocks. It can also leave dirt or other obstructions inside a room that should be empty.
Choose based on the desired result. A full paste into an empty test area is the easiest starting point for inspecting the original build.
If the first paste is wrong, undo it before trying again:
//undoFor a height problem, change your standing height and paste again. Avoid stacking attempts on top of one another: it becomes much harder to tell which blocks belong to which paste.
For an orientation problem, rotate the clipboard after undoing:
//rotate 90
//paste
Rotation changes the clipboard for the next paste; it does not turn a building already placed in the world. Keep the same anchor position while comparing orientations. Rotation uses the clipboard's origin, so an offset build may swing to another side of that point.
Rotations accumulate. Two 90-degree rotations produce a 180-degree turn. To start again from the file's original orientation, reload it:
//schem load lighthouse.schemThen apply your intended rotation once and paste. Do not use //paste -o as a general positioning fix: that option uses the clipboard's original origin rather than your current location.
Walk through the building and check it from several angles. Look for missing blocks, disconnected sections, blocked entrances, or a foundation sitting above the ground.
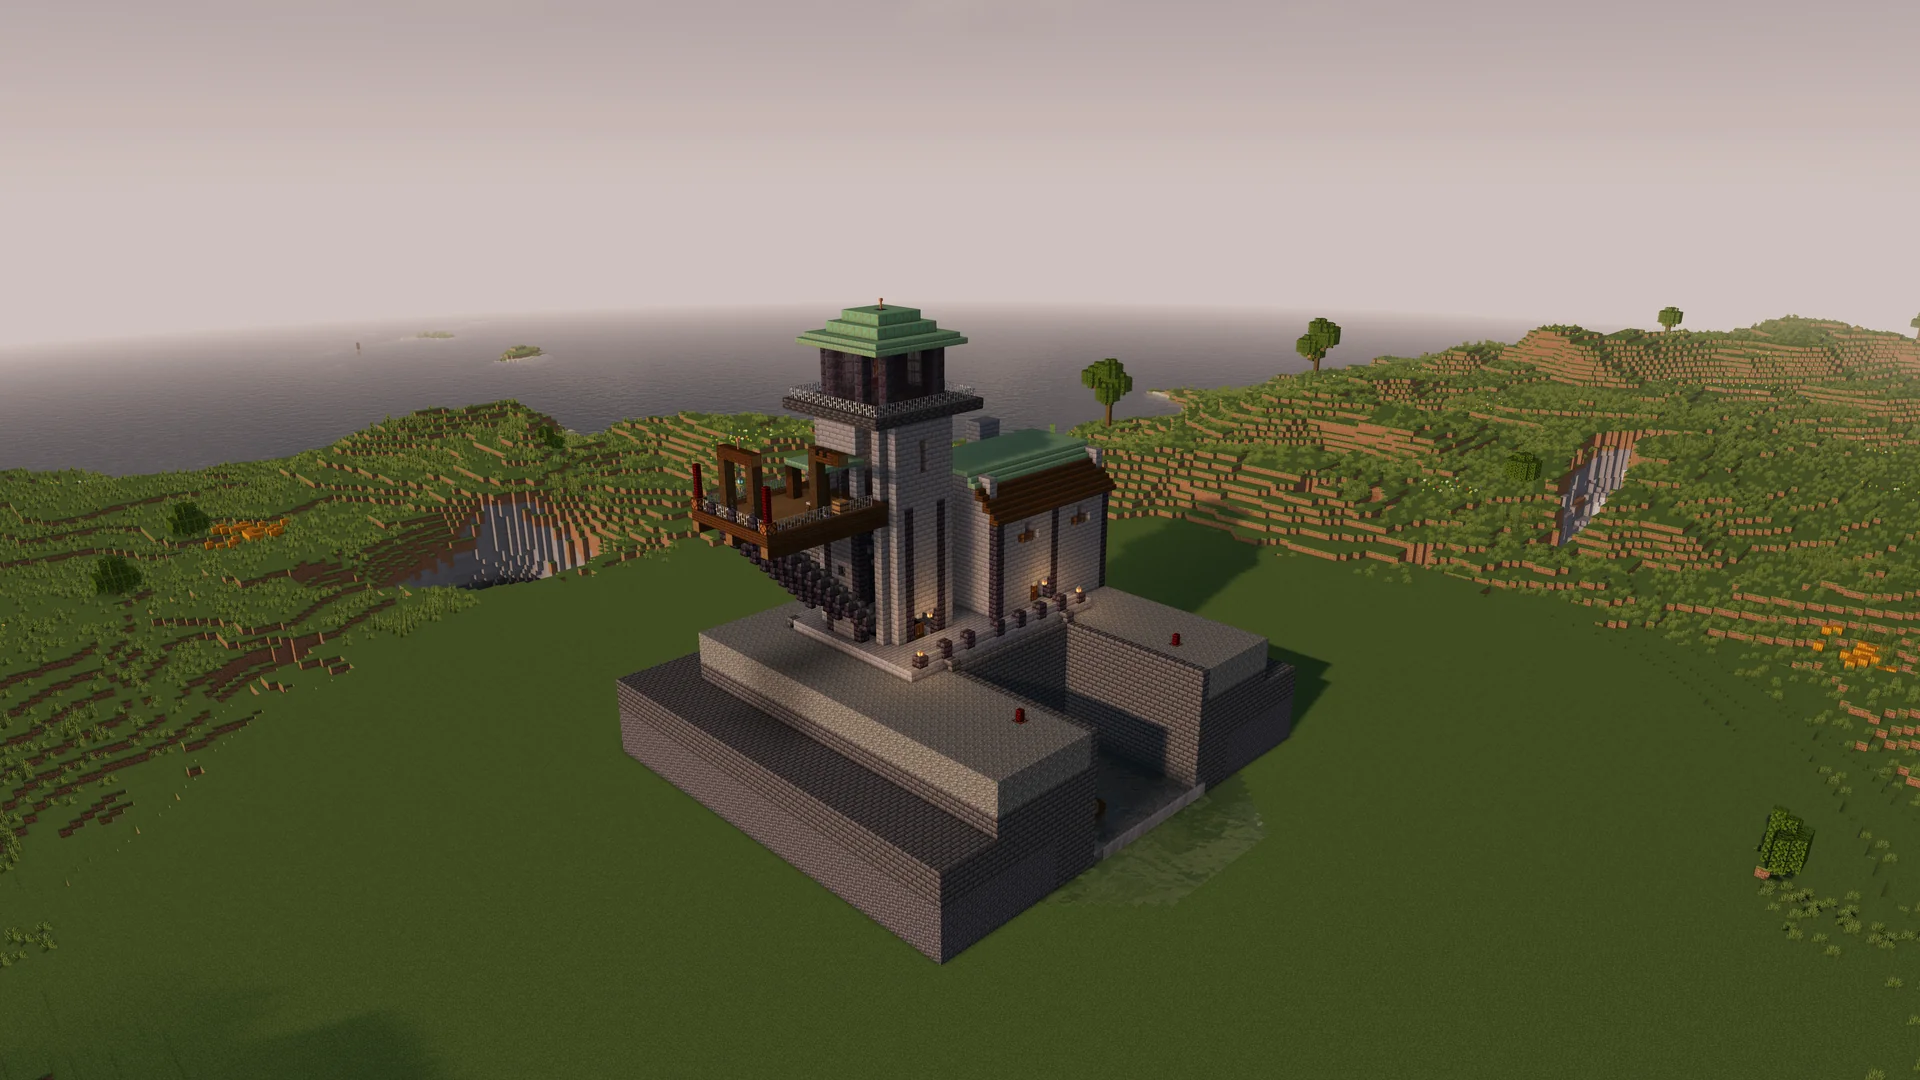
A second view from the existing showcase capture helps reveal edges and connections hidden in the cover image.
A successful load is not proof that a redstone system works, that every container has its contents, or that all entities survived the export and import. Those details depend on the source file and the tools used to create it. Check them separately if they matter to your project.
Likewise, a schematic contains build data, not the lighting of a screenshot. Resource packs, shaders, time of day, and the surrounding biome affect its appearance. IntoBlocks' browser preview helps inspect shape and materials; actual Minecraft import is a separate check.
| Problem | What to check first |
|---|---|
| WorldEdit commands are unknown | You launched the correct modded instance, or the server actually has WorldEdit installed. |
| Permission denied | Commands are enabled in your test world, or the administrator has granted the required WorldEdit permissions. |
| File not found | The active instance or server folder, exact filename, extension, and whether the download is still zipped. |
| Loaded successfully, but nothing appeared | Loading only fills the clipboard. Paste it, then inspect around the anchor and at other heights. |
| Building is buried or floating | Undo, adjust the anchor height, and paste again. Account for the file's saved offset. |
| Building faces the wrong direction | Undo, rotate the clipboard, and paste again from the same anchor. |
| Dirt remains inside rooms | You may have skipped air with -a. Test a full paste in a clear area. |
| Missing or unknown blocks | Match the source Minecraft version and required mods; do not assume a newer build works in an older world. |
| A large paste stalls or exceeds a limit | Wait for completion or read the error. Discuss server limits with the administrator before retrying. |
Undo is useful editing history, not a world backup. Later edits, session changes, and server history settings can affect what is recoverable. Keep a separate backup for a world you care about.
This is a Java Edition WorldEdit workflow. Do not put a .schem file into a Bedrock world folder and expect it to import. Bedrock requires a different compatible workflow.
Yes, when the server supports WorldEdit, has the file available, and gives you the necessary permissions. A normal player cannot gain those permissions simply by installing a client mod.
WorldEdit edits the world using commands and permissions. This tutorial does not describe gathering materials or manually following a projection in Survival. That is the subject of a separate Litematica guide.
Yes. Download the .schem artifact, check its target version, and follow the same folder, load, and paste steps. Inspect the result in a test world before using it in a server build, video set, or deliverable.
Open IntoBlocks Build Mode to create a build from a brief and references, then use this workflow with its downloaded .schem file. Keep your test-world import as a separate quality check before delivery.
For tool-specific details, consult WorldEdit's clipboard documentation and command reference.